
A three-kilogram capon taken out of the refrigerator and placed directly in the oven is the best way to achieve thighs that are still pink while the breasts are already dry. Cooking the capon in the oven relies on a series of precise actions, from tempering the poultry to resting after it comes out of the oven. Here, we detail the points that really make the difference between tender meat and stringy meat.
Temper and truss the capon before turning on the oven
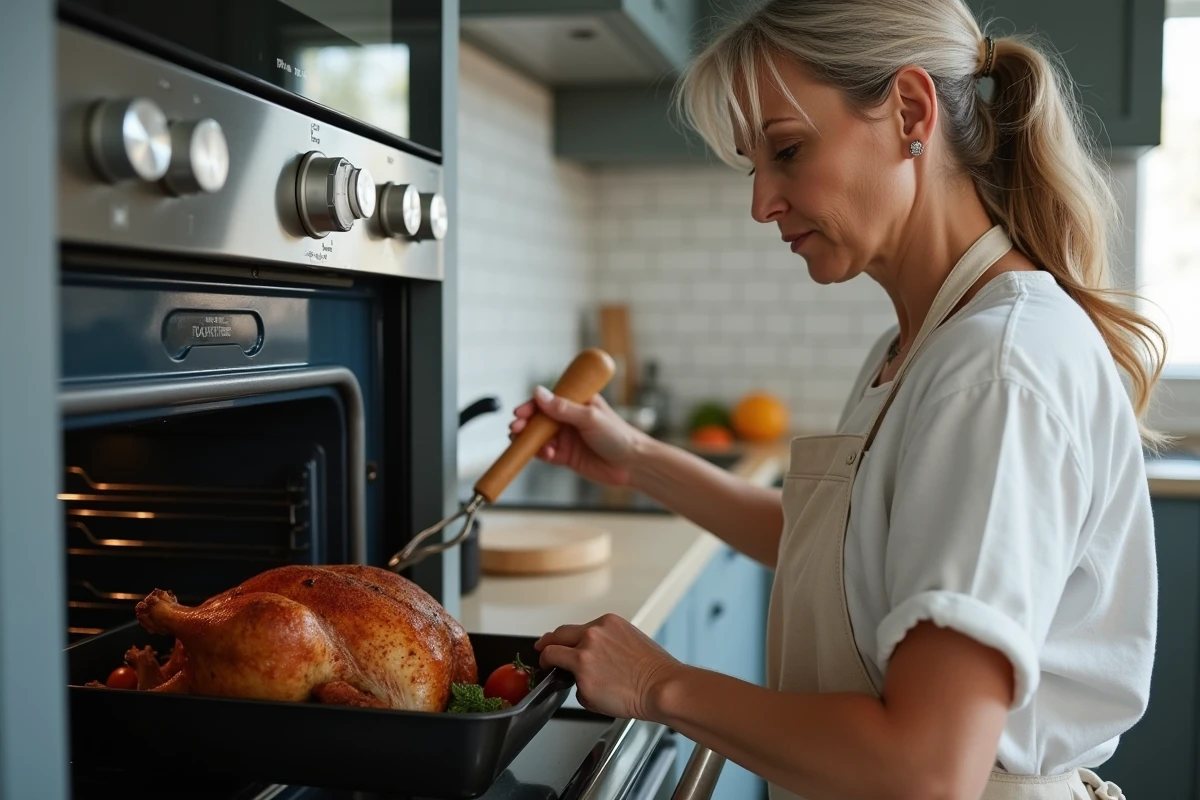
Taking the poultry out of the refrigerator early enough is the most underestimated action. A capon that is still cold at the core takes much longer to cook in the center, which forces an extension of the oven time and dries out the outer parts. It should be left at room temperature for about two hours before baking.
Further reading : The glass roof: a perfect blend of aesthetics and functionality
Trussing (tying the legs against the body) is not just for aesthetics. A trussed capon cooks more evenly because the thighs remain pressed against the carcass, where heat penetrates the slowest. Without trussing, the wings and thighs spread apart, cook faster, and dry out while the center catches up.
Before tying, slip softened butter under the skin of the breasts, directly in contact with the meat. This fatty film melts during cooking and protects the most exposed part to the heat of the oven. To master the cooking of the capon in the oven, this preparation step is as important as setting the temperature.
See also : Tips and Resources for Starting and Growing Your Business in France
Oven temperature and managing convection heat
Most home ovens offer two useful modes for the capon: natural convection (top and bottom heat) and convection heat. Opinions vary on this point, but it is often observed that convection heat browns the skin faster, which can be tricky if the poultry is not covered in time.
Natural convection or convection heat
In natural convection, heat rises from the bottom and descends from the top. The capon cooks a bit more slowly, but the skin browns gradually. In convection heat, the fan distributes heat more evenly. Reducing the temperature by about twenty degrees in convection heat helps to compensate for the drying effect of the continuous airflow.
If your oven only has convection heat, covering the capon with aluminum foil during the first two-thirds of the cooking protects the skin from browning too quickly. The foil is removed at the end of cooking to achieve that golden color.
Time guidelines based on weight
The commonly used guideline is about thirty minutes per 500 g. A three-kilogram capon therefore requires around three hours in the oven. This calculation works well for a stable temperature, but it does not replace checking the internal temperature.
| Weight of the capon | Approximate time | Oven temperature |
|---|---|---|
| 2 kg | 2 h | 180 °C |
| 3 kg | 3 h | 180 °C |
| 4 kg | 4 h | 180 °C |
These durations are indicative. Every oven has its peculiarities, and a farm-raised capon does not have the same muscle density as a standard capon.
Basting during cooking: frequency and technique
Basting the capon with its own juices is the most reliable method to keep the meat juicy. Baste every ten to fifteen minutes by collecting the juices at the bottom of the dish with a spoon or baster. This operation deposits a film of melted fat on the skin, which slows down the evaporation of the water contained in the meat.
Avoid opening the oven door too long: each opening drops the internal temperature and prolongs cooking. A quick action (less than ten seconds) is enough for effective basting.
- Collect the cooking juices at the bottom of the dish with a baster or a large spoon
- Target the breasts primarily, the part that dries out the fastest
- Add a bit of water or broth to the dish if the juices reduce too much and start to burn
- Brush with melted butter at the beginning of cooking if the poultry is not yet releasing enough juices
Check the cooking of the capon without cutting it
Cutting the thigh to see if the juices run clear works, but this method lets juices escape and gives an approximate result. A probe thermometer remains the most reliable way to know if the capon is cooked without damaging it.
Insert the probe into the thickest part of the thigh, avoiding the bone (the bone conducts heat and skews the measurement). The meat of the capon is cooked when the internal temperature reaches the range of 70 to 75 °C. Below that, the thighs remain pink near the joint. Above that, the meat starts to contract and lose its juices.
Without a thermometer, you can pierce the thigh with the tip of a knife: if the juice that flows out is clear and not pink, cooking is complete. This method is less precise, but it avoids unpleasant surprises.
Resting the capon after cooking: patience pays off
Carving the capon immediately after it comes out of the oven is a common mistake. Under the effect of heat, the muscle fibers contract and expel their juices toward the center of the piece. If you slice immediately, this juice flows into the dish instead of staying in the meat.
Let the poultry rest for at least thirty minutes, wrapped in aluminum foil, allows the fibers to relax and the juices to redistribute. The meat remains warm thanks to the mass of the piece, and tenderness is significantly improved.
During this resting time, you can deglaze the roasting pan with a bit of white wine or broth to prepare the serving sauce. The caramelized drippings at the bottom of the dish concentrate all the flavor of the roasted capon and create a sauce without needing to add industrial stock.
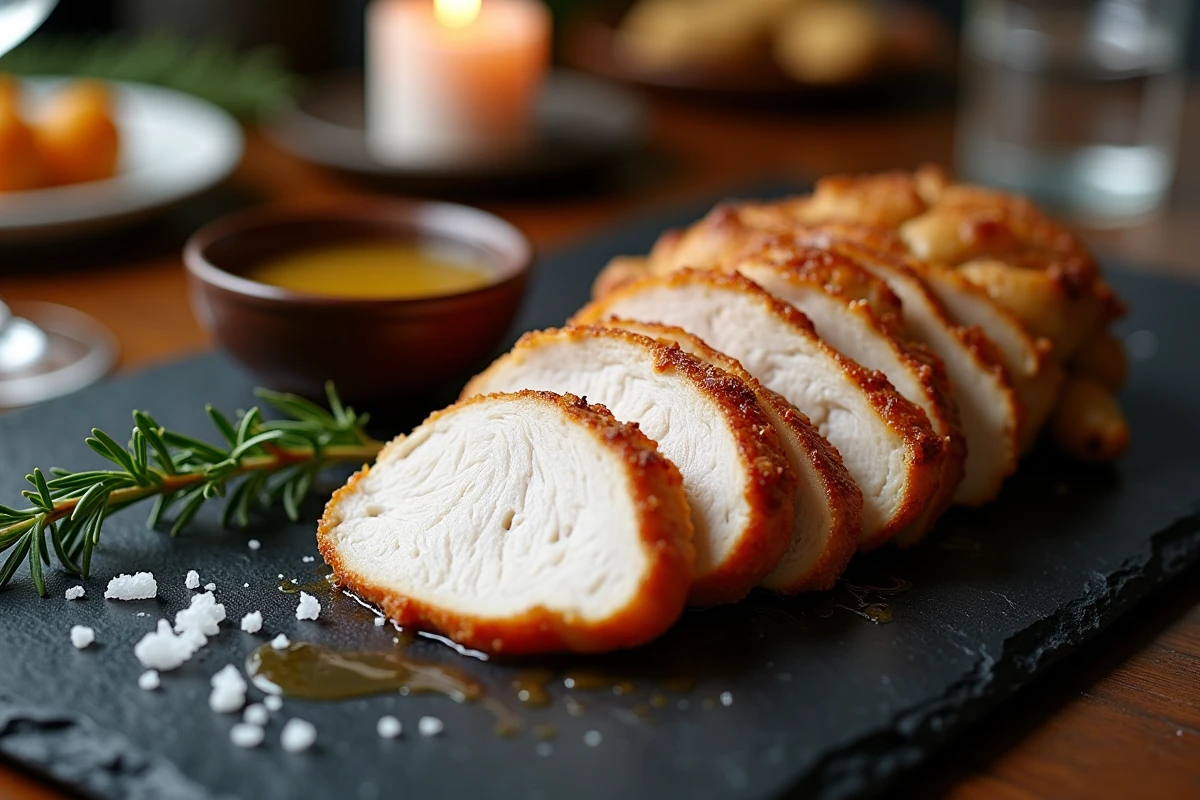
The capon is then carved starting with the thighs, then lifting the fillets along the breastbone. A sharp knife and a stable cutting board are sufficient. The crispy skin comes off easily if the poultry has been properly basted throughout the cooking.